Building an Apple-1 replica (Briel’s version) from scratch!
Recently I have bought a Apple 1 Replica 1 TE board at Briel Computers: http://www.brielcomputers.com/
This is a little tutorial with pictures of the different steps of building Replica assembly proces.
The steps are from the building manual, read the Briel’s manual for detailed instructions!
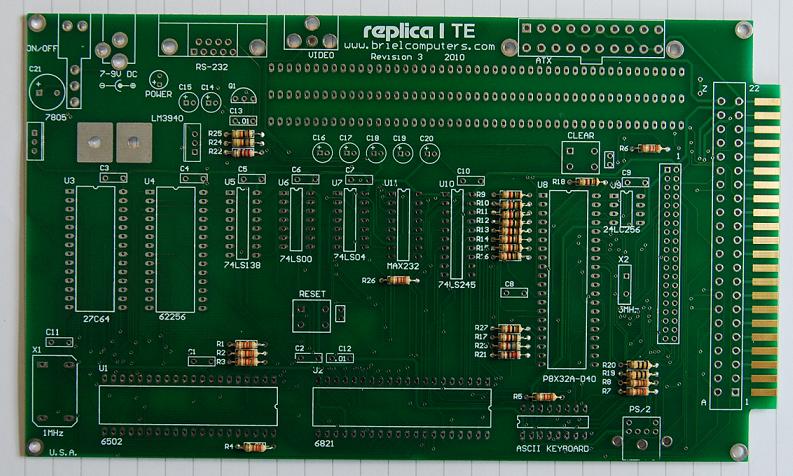
Start:
Step 1, Solder all resitors on the board:
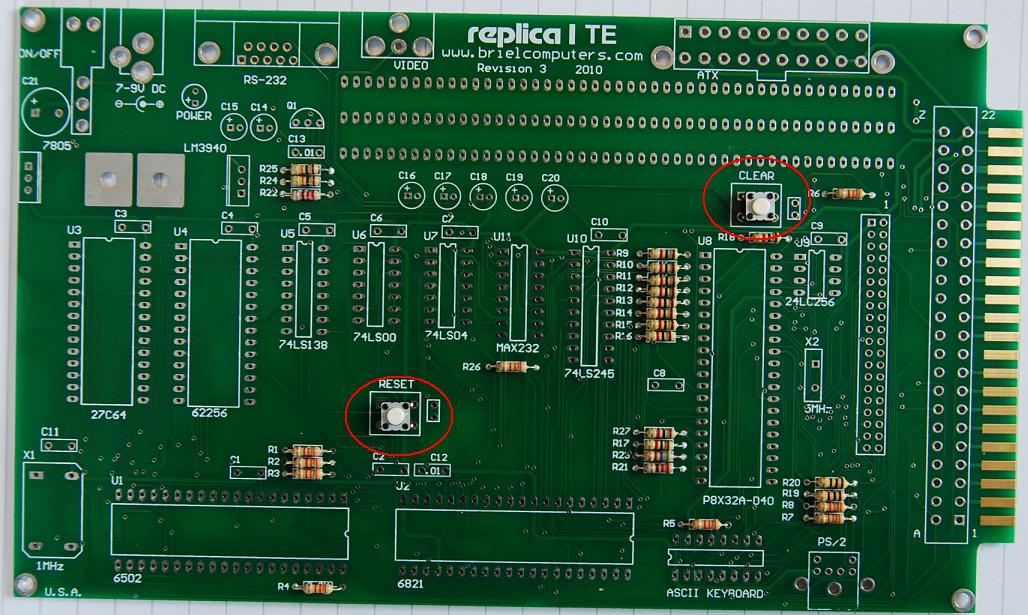
Step 2, Solder the Reset and Clear button (first tape the buttons down, before turning the board) on the board:
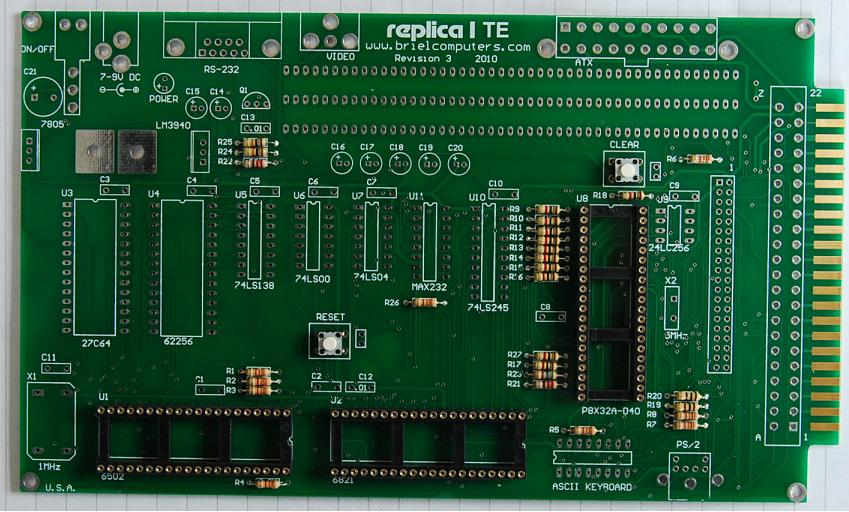
Step 3, Install the sockets:
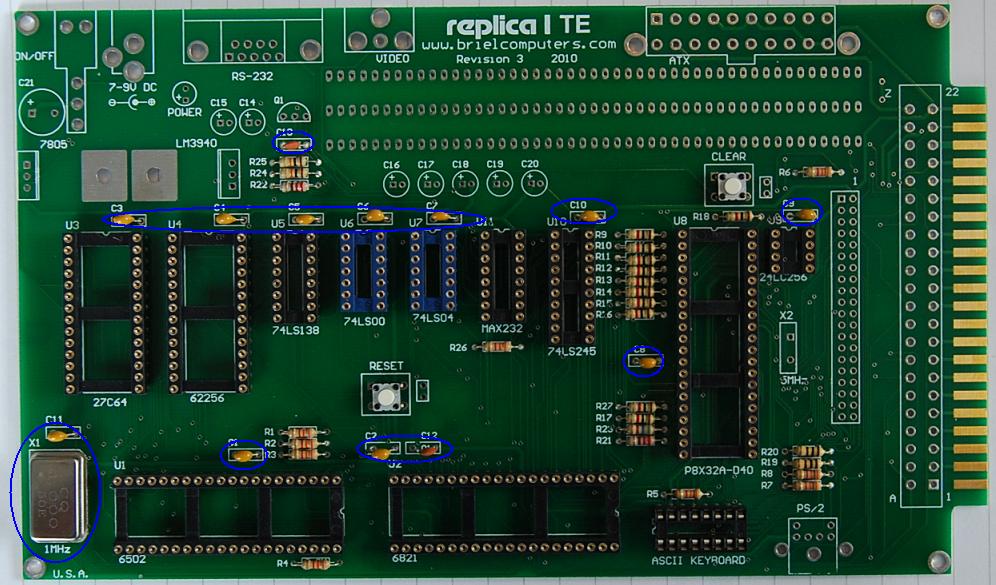
Step 4 & 5, Install the 1Mhz oscillator and C1 – C11 (.1uF), C12 and C13 capacitors (0.1uF):
Step 6 & 7, Install the LED and the 40 pin expansion connector: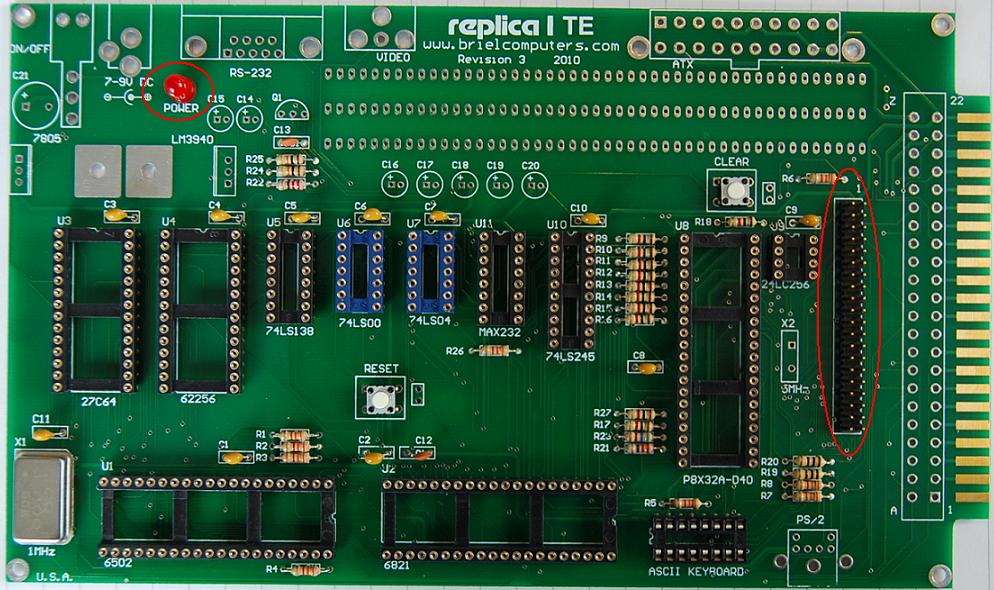
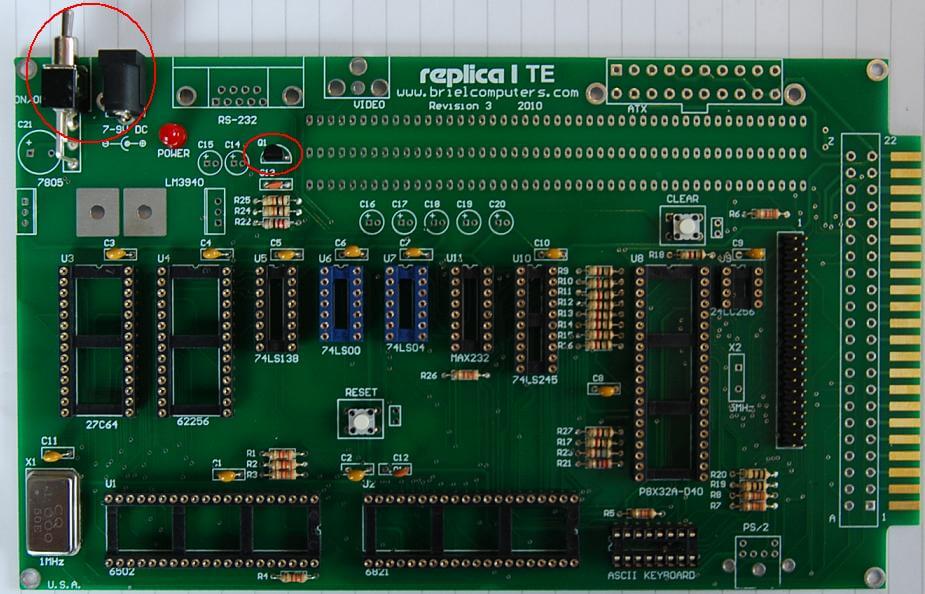
Step 8 & 9, install the Transistor, the DC power connector and the power switch:
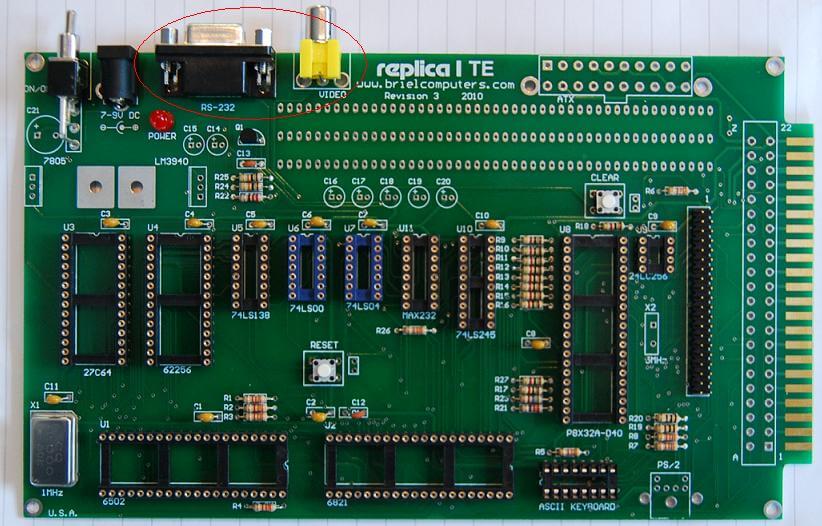
Step 10 & 11, install the Video connector & the RS232 connector
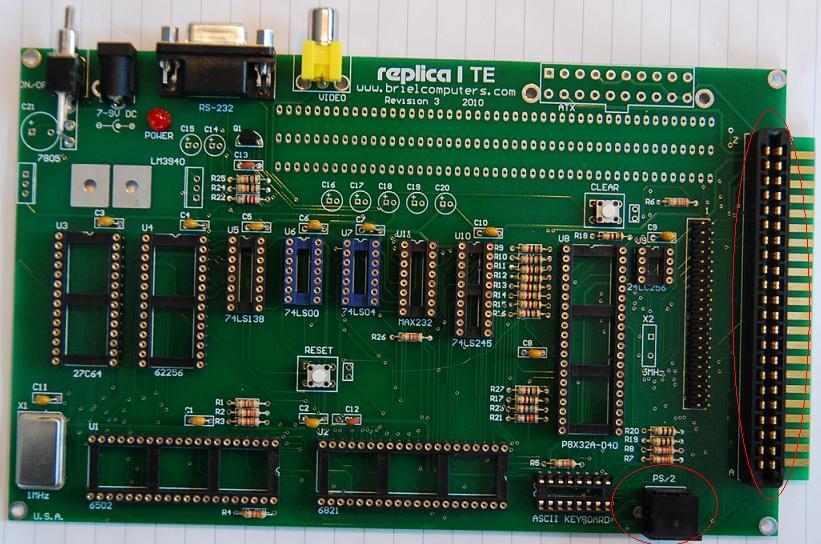
Step 12 & 13, install PS/2 keyboard connector & 44 pin Apple I slot
Step 14 & 15, install C14-C20 10uF capacitors & a 100uF capacitor on C21
Step 16 & 17 & 18, install the two volt regulators (7805 & 3940), the ATX power connector and the 5 MHz crystal.
Step 19, Check the voltages
Before installing the IC´s power up the Replica 1 and check the voltages.
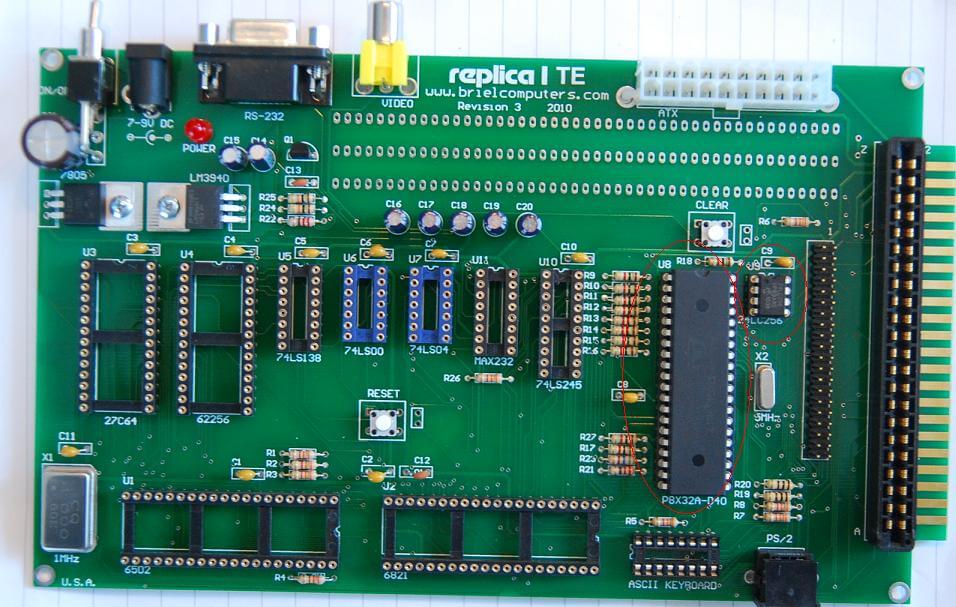
Step 20, Check the video signal. Install the P8X32A-d40 and 24LC256 EEPROM
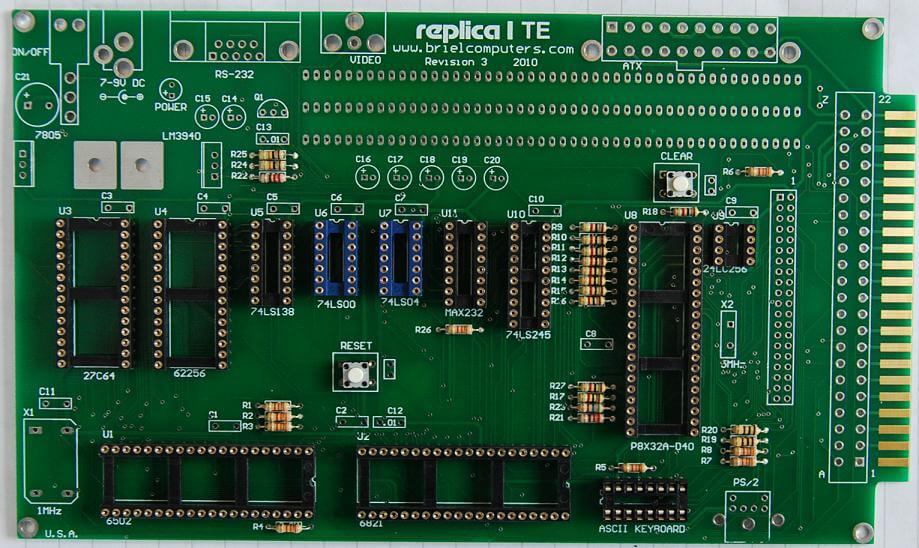
Step 21, Install the rest of the IC´s
Continue reading this blog post in part two: Testing the Replica and connecting it with my laptop.


